Getting Started with Nodes
Introduction
Section titled “Introduction”Nodes are an essential part of PixiEditor, while they might look scary, they follow very simple rules. The goal of this guide is to help you understand not only how to use nodes, but also give you a deep understanding of how PixiEditor works.
What are Nodes?
Section titled “What are Nodes?”Nodes are the individual elements that make up your scene in PixiEditor. Meaning that, they are blocks that you can connect together to create complex visuals and animations. Each node has it’s own inputs and outputs.
This is how the node looks like:
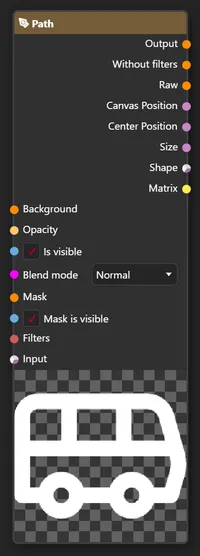
In fact, that’s a Vector Layer Node. Each Layer in PixiEditor is represented by a node.
Node Graph
Section titled “Node Graph”The Node Graph is a combination of all nodes in your file/document. As the name suggests, it is a graph, where nodes are connected together.
Here’s an example of the simplest Node Graph:
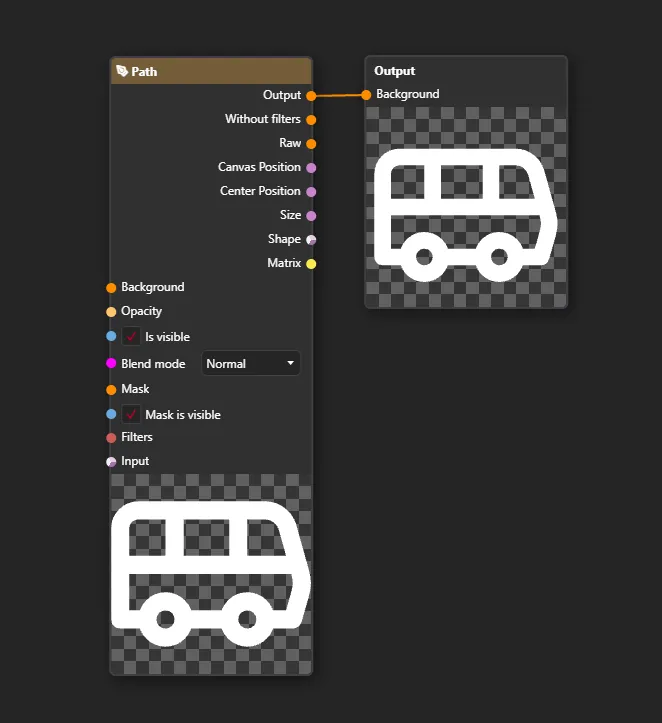
This graph consists of two nodes: a Vector Layer Node and a Output Node. All it does it displays the contents of the Vector Layer Node in the viewport.
Anything you connect to the Output Node will be displayed in the viewport. You can think of it as a “final output” of your scene.
Can I have more outputs than one?
Yes, PixiEditor allows you to have multiple Output Nodes in your Node Graph. This means you can display different parts of your scene in different viewports or even in the same viewport at the same time. For more information, check out Custom Workspaces.
How to access the Node Graph?
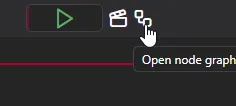
Section titled “How to access the Node Graph?”Each document in PixiEditor has its own Node Graph. You can access it by pressing (open Node Graph) button, right next to the green play button in the top center of the window.
or by accessing the View -> Open Tab -> Graph View menu.
Check your understanding
Section titled “Check your understanding”What are Nodes?
What is a Node Graph?
What is the purpose of the Output Node?
All of our content is carefully written by hand, no AI was involved during the process.