PixiEditor Devlog 10 - Snap it, paint it, node it up
I was gone for 2 months, but I promise I cooked something good. Check it out in this devlog.
Foreword
My every two-week schedule of dev logs got a little bit messed up. However, as always, I spent all of this time working on cool features and unexpected reworks.
I'm very happy with the progress, and I hope you will be, too. Let's get started.
Snapping
In the previous devlog I've introduced vector tools. But imagine making vectors without snapping, I tried, but it's not fun, don't recommend it, 0/10.
So, I've added snapping to the editor. It works for both raster and vector tools.
As you can see, snapping is handled automatically based on layers and document size. It's not perfect yet, but it's a good start.
I hope it will make your life easier when working with vectors.
Painting tools
New toolset! At the moment there are already 3 toolsets in PixiEditor 2.0. Raster, Vector, and now Painting.
But what is it exactly? You could already "paint" with the pen tool in 1.0, however, it was suited for pixel art only, and it was not very comfortable to use for high-resolution images. Basically, the main difference is that the pen in the Painting toolset draws soft edges. Here's a comparison:
At the moment there is no brush engine that would allow you to change the brush shape, but it's planned for the future. We are very happy about the growing capabilities of PixiEditor and strongly believe that we can make a universal tool for all kinds of image editing.
I'm just getting started.
New renderer
There was one major problem with our vectors implementation, we only had a raster renderer, which means that vectors were pixelated during editing, and only rendered in high quality when exporting to SVG.
Some apps like Affinity Photo live with a solution like this, but it didn't satisfy me. If PixiEditor is going to be a universal tool, it needs to be able to render vectors in high quality. That's why I've ripped apart almost the whole rendering pipeline and made it from scratch, with vectors in mind.
Of course, I wouldn't be myself if I didn't go a little bit overboard. During the closed beta, some users reported, that drawing is more "clunky" than in 1.0, and for a good reason. There was a major difference in rendering code between 1.0 and the closed beta of 2.0. To remind you, 1.0 was written in an entirely different technology called WPF, and 2.0 is basically rewritten from scratch in a new technology, Avalonia.
Honestly, 1.0 rendering is state of the art in my opinion, the amount of crazy optimizations and hacks Equbuxu had to do to make it work is just insane. Almost the whole processing was done on the CPU and this thing was still faster than most of my GPU-accelerated attempts in 2.0.
You may be wondering, if it was so good, why remake it in the first place? Well, simply because our requirements changed. Firstly node-based editing forced us to rework the whole rendering pipeline, and secondly, vectors, the topic I am covering right now. The previous renderer was excellent at simply drawing, PixiEditor 2.0 a long time ago stopped being just a drawing app.
So after many, many attempts and tons of hours put into the research of rendering, I think I managed to create a solution that is both fast, flexible, and capable of drawing vectors in high quality.
Okay smartass, but what about exporting? You can't just put a high-quality vector into a low-resolution PNG.
Yes, this is true, for raster images, these vectors are rasterized. But for SVGs, they are exported as vectors, it is as simple as that.
You can mix vectors and raster images however you want and both will work in any format you will export to.
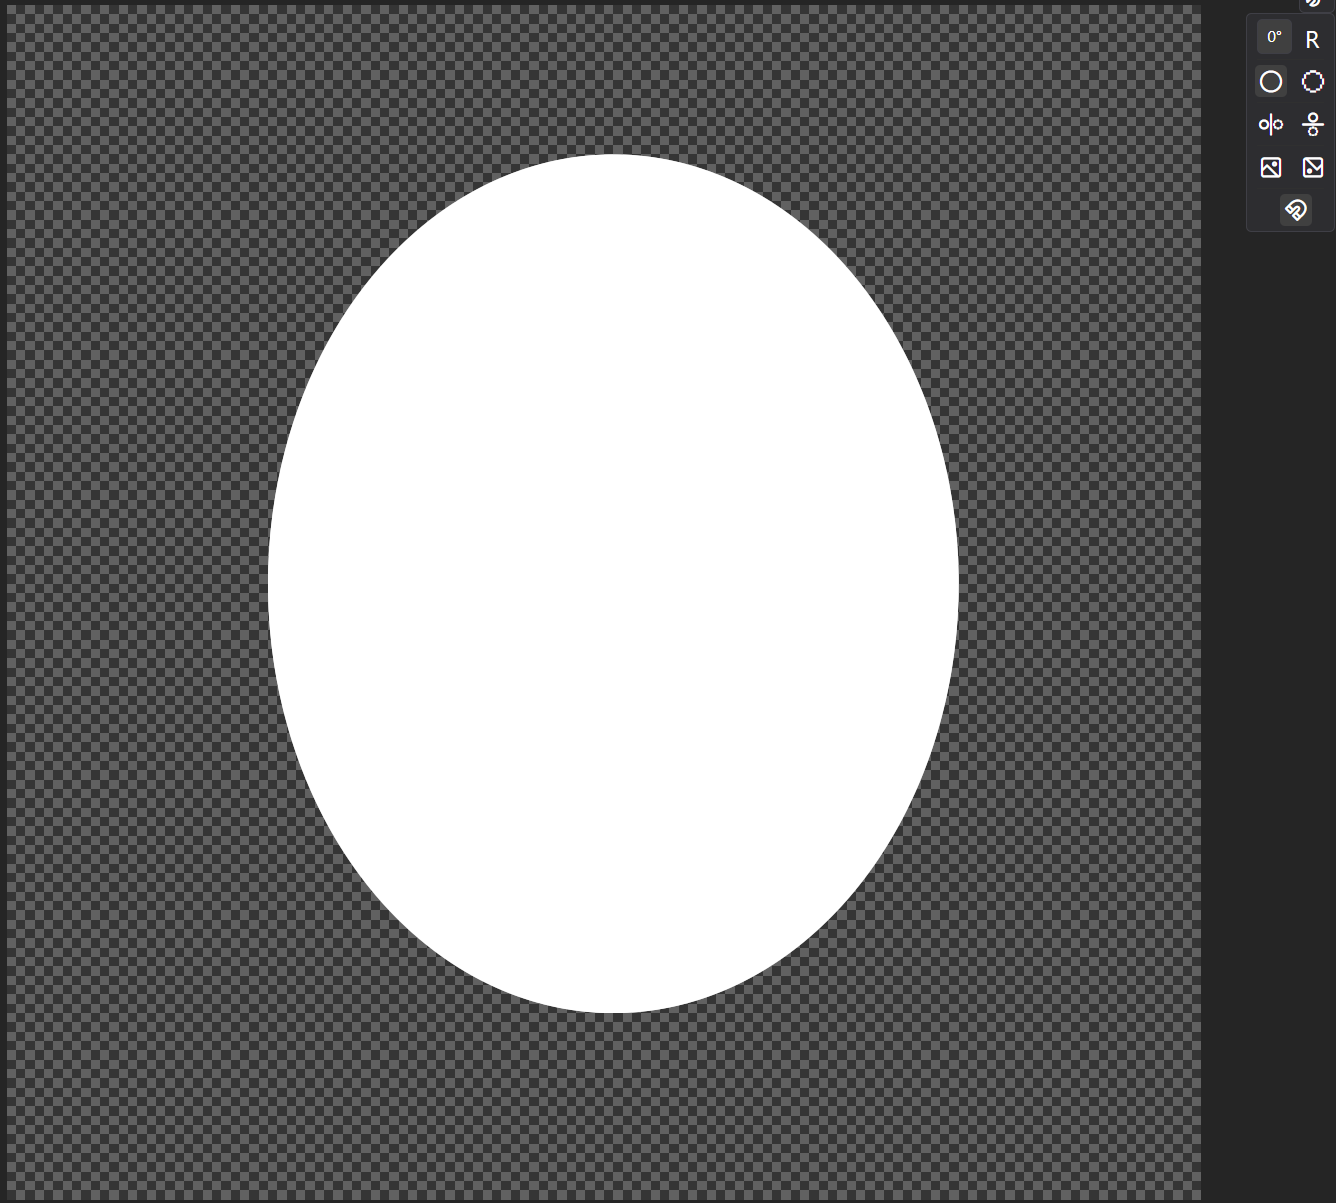
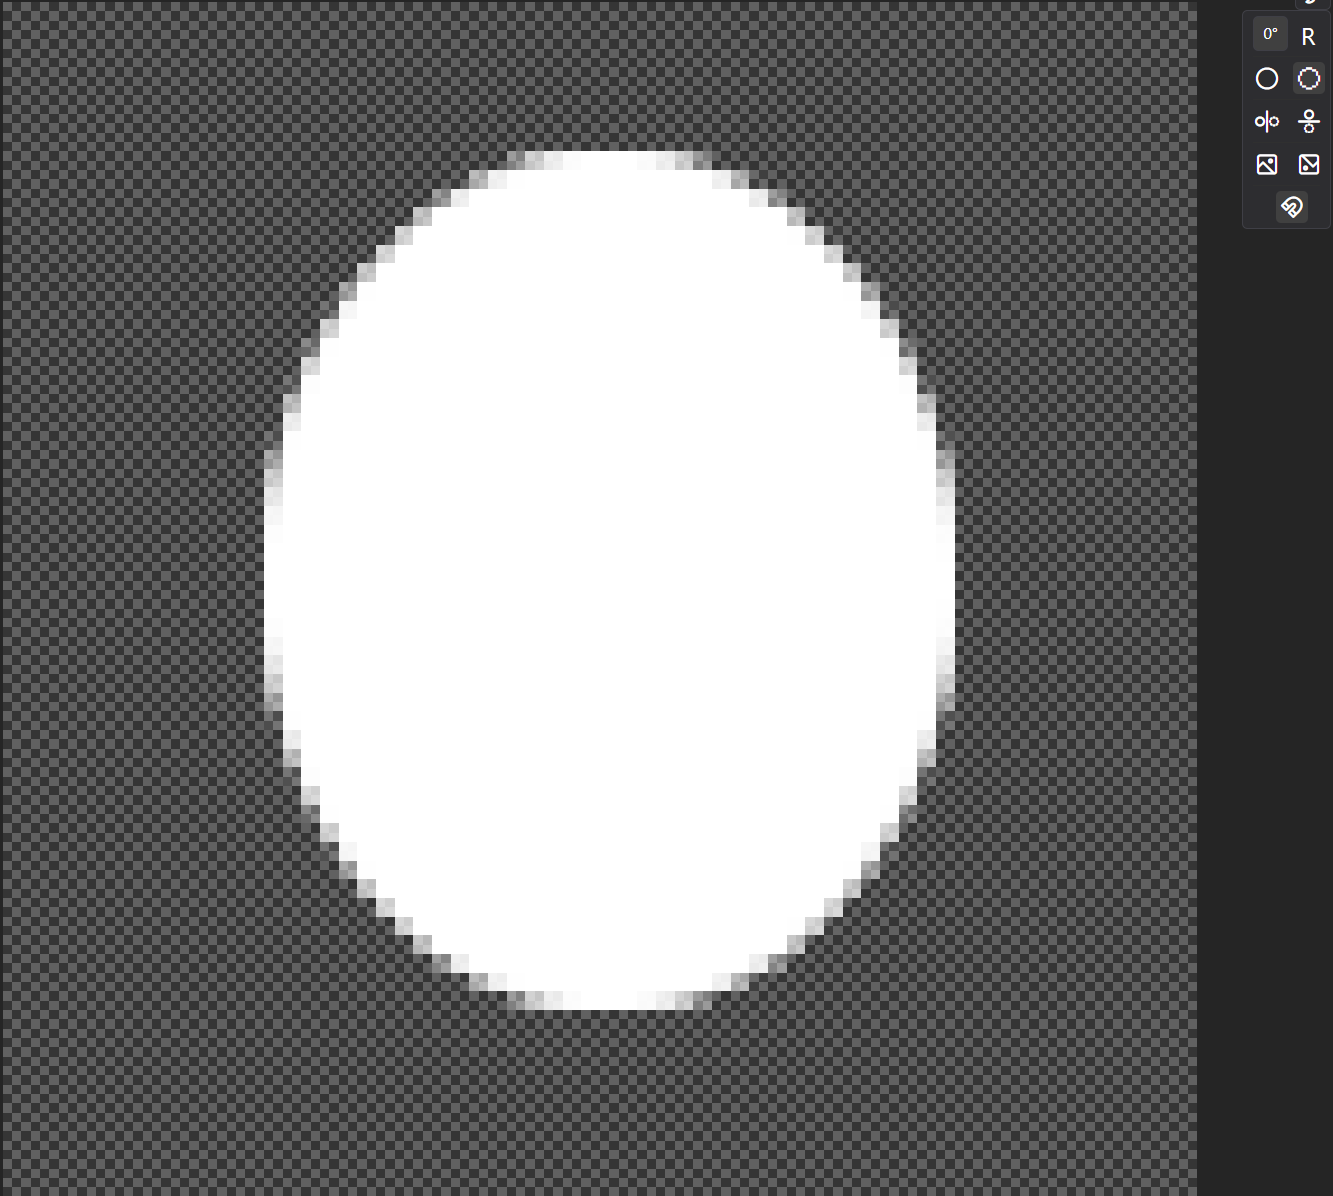
I've added different rendering modes, so you can preview your image both in high dpi and rasterized versions.
Here's a comparison of rendering modes on a 64x64 canvas:


For some nerds out here, I've made a Vulkan renderer, that blits PixiEditor textures directly to the screen, this is how I resolved the "clunky" drawing issue. Now it's buttery smooth. If you are interested in the code, you can check it out here.
Other Quality of Life improvements
There are uncountable small improvements that I've made during this time, and I won't cover all of them, but there are a few that I think are worth mentioning.
Size infoboxes
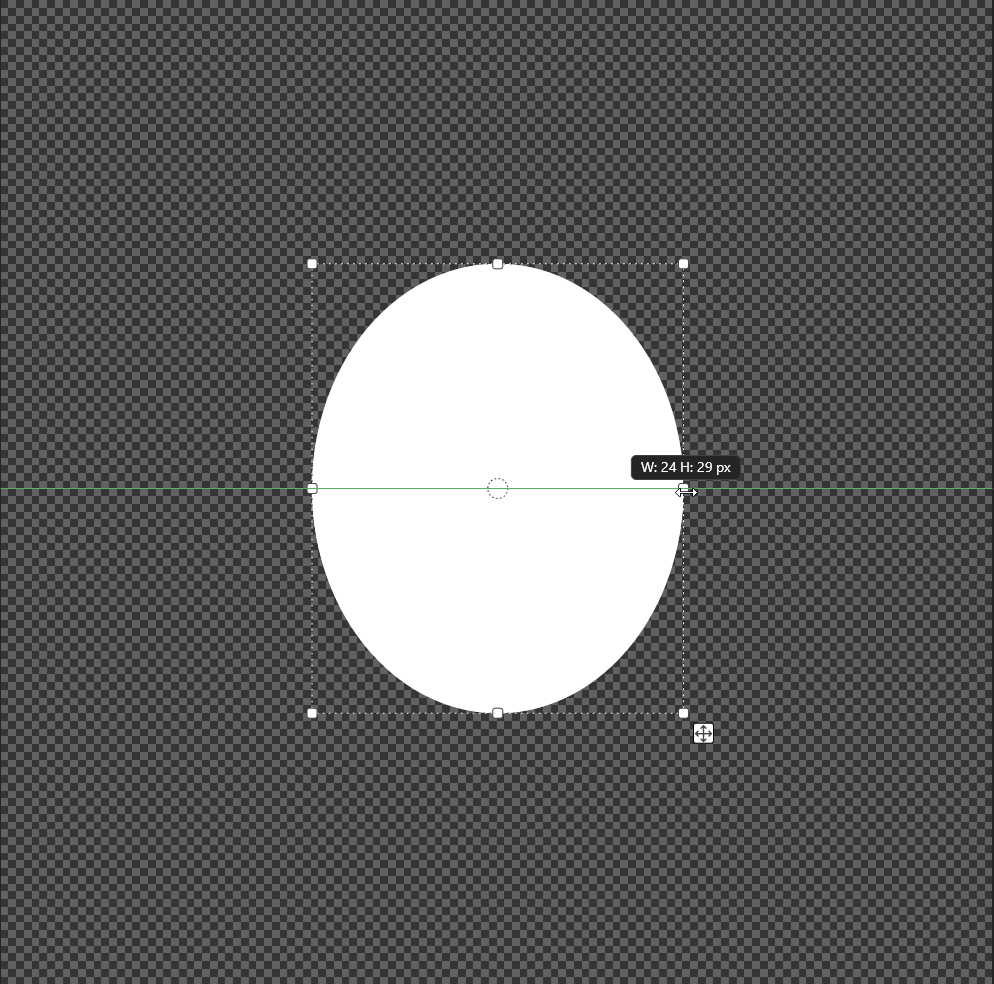
When drawing shapes, you can now see the size of the shape you are drawing, as well as its rotation. This is very useful when you want to draw shapes with specific dimensions.

Immediate editing of selected shapes
In 1.0, to set the shape's color, fill, stroke, etc. you had to redraw the shape to apply changes. In 2.0, you can edit these properties immediately after selecting the shape.
Animation improvements
-
After the first closed beta, we got a lot of feedback about the animation system, one of the issues was that merging layers caused frames to be lost. This is now fixed, and merging layers will merge cels as well.
-
Additionally, the layers view now respects the layer's order, it doesn't change anything in the final image, but it's more intuitive and was also requested by the community.
-
Previously the smallest animation cel was 2 frames long instead of 1. It technically was only an issue on the last frame of the animation, since previous frames were overwritten by the next frame, but it was not intuitive and got fixed.
What's next?
So what's next? I'm planning to release a new closed beta soon (register here), with all of these features and more. Besides that, the PixiEditor 2.0 release is very close! I'll spill some milk, we're planning to release an Early Access version around the new year, so stay tuned!